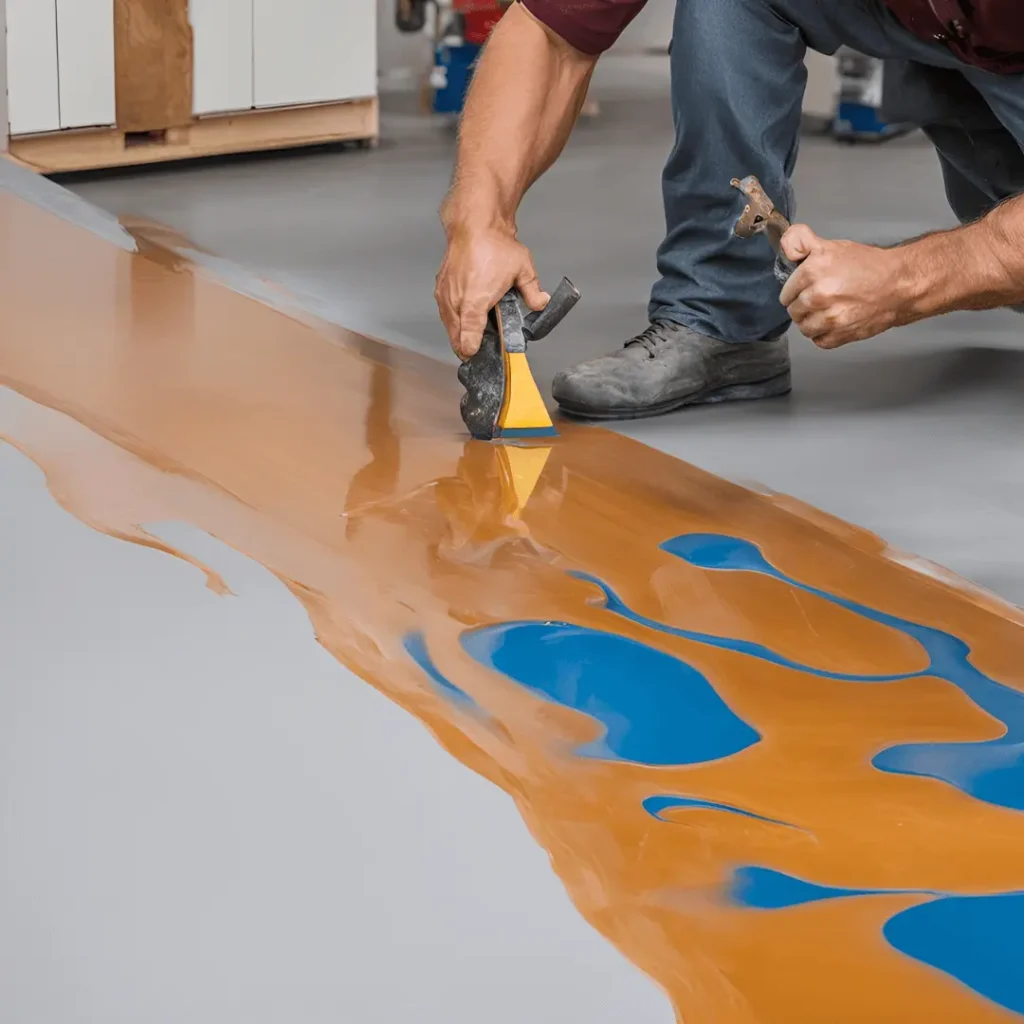
When it comes to upgrading your garage floor, 2 part epoxy is a top choice for both its durability and aesthetic appeal. This versatile coating, composed of resin and hardener, offers a seamless, high-gloss finish that can withstand heavy traffic, resist stains, and make cleaning a breeze. Not only does it enhance the look of your garage, but it also provides a protective layer that can last for years.
However, achieving that professional-grade finish requires more than just slapping on a coat of epoxy. Proper mixing and application are crucial to ensure the epoxy adheres well, cures correctly, and delivers a smooth, long-lasting surface. In this guide, we’ll walk you through the steps to mix and apply 2 part epoxy like a pro.
What is 2 Part Epoxy?
2 part epoxy is a high-performance coating system composed of two primary components: resin and hardener. When these two components are mixed together, a chemical reaction occurs, resulting in a hard, durable finish that adheres strongly to surfaces.
The resin provides the base, while the hardener acts as a catalyst to initiate the curing process, transforming the liquid mixture into a solid, resilient coating.
Benefits of Using Epoxy in Garages
- Durability
One of the standout features of 2 part epoxy is its exceptional durability. Once cured, the epoxy forms a tough, hard surface that can withstand heavy foot and vehicle traffic, making it ideal for garage floors. It resists abrasions, impacts, and wear, ensuring your floor remains in great condition for years.
- Resistance to Stains
Garage floors are often subjected to spills of oil, grease, chemicals, and other substances. Epoxy coatings are highly resistant to these stains, preventing them from penetrating the surface and making cleanup much easier.
- Ease of Cleaning
The smooth, seamless finish of epoxy floors makes them incredibly easy to clean. Dust, dirt, and spills can be quickly wiped away, maintaining a clean and polished appearance with minimal effort.
- Aesthetic Appeal
Epoxy coatings can dramatically enhance the look of your garage and other commercial spaces. Available in a variety of colors and finishes, including high-gloss and matte, epoxy can be customized to match your style. Additionally, decorative elements like color flakes can be added to create a unique and attractive finish.
By understanding these key aspects and benefits, you’ll be better prepared to appreciate the value of epoxy coatings and the importance of applying them correctly to achieve a professional and durable garage floor.
Easy 5-Step Guide for 2 Part Epoxy Installation
A well-applied epoxy floor transforms your garage into a durable, easy-to-clean, and aesthetically pleasing space. With its superior durability, resistance to stains, and low maintenance, epoxy flooring is an excellent investment for any garage.
By following the steps outlined in this guide, you can achieve professional results and enjoy a high-performance floor for years to come.
Step 1: Prepare Your Garage Floor
- Clear the Space: Remove all items from the garage.
- Clean Thoroughly: Sweep and vacuum to remove dust and debris. Use a degreaser for any oil stains.
- Etch the Concrete: Apply an etching solution or use a concrete grinder to create a textured surface for better epoxy adhesion.
- Repair Cracks and Holes: Fill any imperfections with concrete filler and allow it to cure completely.
Step 2: Gather Your Materials
- Protective Gear: Wear gloves, safety goggles, and a respirator mask.
- Mixing Tools: Get a mixing container and stirring stick or drill with a mixing paddle.
- Epoxy Kit: Ensure you have both the resin and hardener components.
- Application Tools: Use paintbrushes for edges and a roller for larger areas.
Step 3: Mix the Epoxy
- Read Instructions: Carefully follow the manufacturer’s instructions for mixing ratios.
- Combine Components: Pour the resin and hardener into the mixing container in the specified proportions.
- Mix Thoroughly: Stir the mixture for the recommended time, typically 2-3 minutes, ensuring there are no unmixed pockets.
Step 4: Apply the Epoxy
- Prime (Optional): Apply a primer if recommended by the epoxy manufacturer.
- Edges First: Use a paintbrush to apply epoxy around the edges of the garage floor.
- Roll the Main Area: Pour the mixed epoxy onto the floor and spread it evenly using a roller. Work in small sections and maintain a wet edge to avoid lap marks.
- Add Decorative Elements (Optional): Sprinkle color flakes or other decorative elements onto the wet epoxy if desired.
Step 5: Curing and Finishing
- Allow to Cure: Let the epoxy cure for the time specified by the manufacturer, usually 24-72 hours. Avoid foot traffic during this time.
- Apply a Topcoat (Optional): For added protection, apply a clear topcoat. Mix and apply it following the same steps as the epoxy.
- Final Touches: Inspect the floor for any missed spots and touch up as needed. Once fully cured, move items back into the garage and enjoy your new, professional-grade floor.
Conclusion
Remember, the key to a successful epoxy floor is meticulous preparation and careful application. Take your time to clean and prepare the surface, mix the components thoroughly, and apply the epoxy evenly. These steps will ensure a flawless finish that not only looks great but also stands up to the rigors of daily use. If you have any questions or would like to share your experiences with garage epoxy flooring installation, contact Apex Epoxy Flooring today. Our team of garage epoxy contractors near you is dedicated to delivering top-quality epoxy flooring solutions that meet your specific needs. Learn more about how we can help transform your garage floor into a durable and attractive space.


